
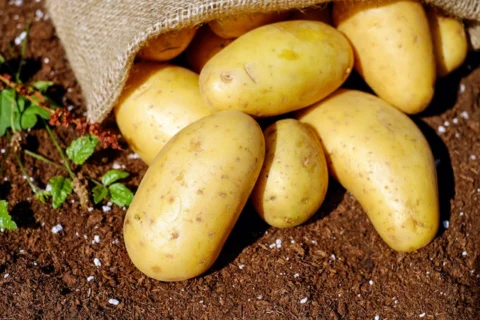
Grow a manageable potato crop by matching healthy seed, planting season and water supply to your site. This guide brings planning, planting, crop care and harvest together so you can follow the whole growing cycle in one place. Start small enough to water and inspect the crop reliably.
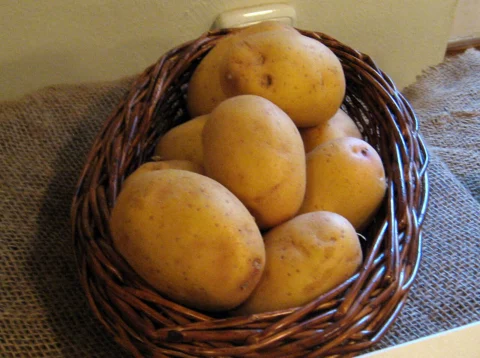

From the Namibian discussions
Namibian contributors described planting from January onward to make use of seasonal rain and cooling autumn conditions, while another suggested that summer production might work in a suitable irrigated microclimate. A saved seed-order notice offered Mondial and Sifra in different tuber counts. These are useful local leads, not proof that one variety or planting date suits every part of Namibia.
Choose a planting window for your site
Begin with the likely frost period, hottest months and reliability of irrigation. Namibia’s coast, central highlands and northern regions have different growing conditions. The Namibian Agronomic Board’s potato guide distinguishes milder areas from frost-prone areas; use its regional guidance together with nearby growers’ experience.
Ask the seed supplier how long the variety normally takes under comparable conditions. Work forward from planting to tuber development and harvest: a comfortable planting day does not help if an important later growth stage falls in severe heat or frost. If uncertain, compare two small planting dates with the same variety and keep a record.
Choose healthy seed and calculate how much to buy
Obtain suitable seed potatoes with reliable variety and seed-health information. Ask for the lot identification, seed grade, expected delivery date and storage instructions. Inspect for decay and damage on arrival. Do not assume supermarket potatoes or untraceable saved tubers have the same health assurance.
The saved Namibian notice offered 25 kg bags with either about 220 or 400 tubers. Those counts correspond to average tuber masses of approximately 114 g and 62.5 g respectively. Count alone does not establish quality: it tells you how many whole-tuber planting positions a bag might fill.
As a planning example, a 12 m row with positions every 0.30 m has about 40 positions, depending on end margins. Five rows therefore need about 200 whole tubers. Choose actual spacing for the variety, seed grade and system; the calculation is an ordering example. Include transport, water, labour and expected losses in a budget in NAD. The old notice is not a current price offer.
Prepare the bed and plant
Choose a sunny, well-drained growing space with water available for the full crop. Loosen compacted soil and prepare a workable bed or ridges. Use mature organic material appropriately and base larger fertiliser investments on soil information and local advice. Avoid fresh manure against the seed and ground that remains waterlogged.
The NAB guide gives a general starting range of 75–90 cm between rows and 20–30 cm within rows, adjusted for seed size and conditions. Follow suitable planting-depth guidance for your seed and soil, placing the eyes upward and covering the tubers. Leave enough room to earth up and inspect plants. Do not cut seed merely to stretch an order without appropriate seed-cutting and hygiene guidance.
- Label each variety or seed lot and record the planting date.
- Water according to soil moisture rather than a fixed calendar.
- Check emergence and note missing or weak plants.
- Keep a simple sketch so later harvest results can be matched to the seed lot.
Water consistently and keep tubers covered
Potatoes are sensitive to water shortage, particularly while tubers develop. Aim for reasonably even moisture without saturation. Check below the surface and measure what your watering system delivers; a dry surface alone does not describe the whole root zone. Adjust for soil texture, rain and weather rather than copying another grower’s daily litres.
Earth up carefully as the crop develops, keeping forming tubers out of the light. Avoid damaging shallow roots or making steep ridges that erode and dry quickly. Suitable mulch can help manage surface moisture, but it does not replace checking soil conditions. Manage weeds while small and inspect for exposed tubers after rain or watering.
Use shade or frost protection only where the site and season justify it. Excess shade is not a substitute for choosing a suitable planting window. A sheltered bed and an exposed field can need different protection.
Inspect for pests and disease
Look regularly at leaves, stems and the soil surface, including the undersides of leaves. The NAB guide lists problems including aphids, nematodes, potato tuber moth and leaf miners. Photograph unfamiliar symptoms and seek identification before choosing treatment; wilting, yellow leaves and poor growth can also reflect water or soil problems.
Use healthy planting material, maintain field hygiene and plan rotation with suitable crops. Avoid returning potatoes or related nightshade crops repeatedly to the same patch. Keep tubers covered and do not retain suspect plants as next season’s seed. If a pesticide is needed, use locally appropriate advice and the current label, including harvest restrictions. Keep a record of the problem, its identification and the response so recurring damage can be addressed early next season.
Harvest gently and measure the result
Distinguish young potatoes for prompt use from a mature crop intended for storage. Check crop condition and skin maturity rather than treating flowering or a fixed date as the sole harvest signal. Abnormal early canopy death needs investigation. Prepare a shaded sorting space and containers before digging.
- Loosen soil far enough from the plant to reduce cuts.
- Keep tubers out of direct sun and avoid dropping or throwing them.
- Separate sound potatoes from cut, bruised, rotten or suspect ones.
- Weigh usable harvest and losses separately, recording the variety and planting date.
Keep water use, labour and losses alongside yield. A slightly smaller crop may still be the more useful result if it required much less scarce water or effort.
Store the harvest and plan the next crop
Keep sound potatoes in appropriate dark, ventilated storage and inspect them regularly. Follow the NAB guidance for curing and storage suited to your intended duration. A warm shaded room is not the same as a controlled store. Do not seal wet or decaying tubers into a bag; keep seed potatoes and food potatoes clearly separated.
Reject green, rotten or strongly sprouted potatoes as food, and do not try to make bitter potatoes acceptable by cooking. Prevent greening by keeping tubers covered during growth and protected from light afterwards. Plan to use or sell only the quantity you can handle and store properly.
At the end of the season, record the seed source, planting and harvest dates, weather, irrigation and usable kilograms. Share the conditions alongside the result with other Namibian growers. That makes the experience useful beyond a simple claim that a variety “worked well”.
Namibian climate and microclimate
Coastal coolness and humidity, inland frost, northern heat, wind and soil texture all change the crop’s needs. Observe conditions in the bed and storage area. A wall, frost pocket or sheltered corner can alter results within the same garden. Start with a modest planting and expand after a full season’s experience.
Your first practical step
Count your planting positions, choose a locally suitable planting window and confirm a healthy seed supply before ordering. Then keep one record from planting through harvest and storage.
Watch and adapt
Watch: Potato farming and how chips are made
Publisher: ABC Education
Country and context: Australia; commercial potato-farming context.
An overview of growing and handling the crop. Commercial machinery and the seasonal calendar need local interpretation.
The Australian film shows a commercial crop cycle. Use it to understand the stages, while applying Namibia’s production guidance and your own soil, water and seasonal conditions.
Other ways of growing potatoes
Containers and aquaponics are options to investigate when they fit an existing system, not shortcuts around water, root volume, nutrients and management. Keep one small comparison before devoting an entire system to tuber production. The original aquaponics videos below describe practitioner experiments; they do not establish commercial performance in Namibia.
Keep exploring
- Return to the vegetable overview
- Separate processing topic: potato vodka
- Frost covers: a simple evening and morning routine
- Measure dripper output before changing the watering time
- Mulch
- Root Cellar
Selected videos retained from the original guide
 Watch videoBEST Way to Grow Potatoes. — Livingseeds Farm
 Watch videoGrowing Potatoes in Aquaponics — Rob Bob's Aquaponics & Backyard Farm
 Watch videoCan You Grow Potatoes in Aquaponics? 🥔🐟🥔 — Rob Bob's Aquaponics & Backyard Farm
 Watch videoDie Anti-Kartoffelkäfer-Watschnmaschine | Landmaschinen | Unser Land | BR — Unser Land
Livingseeds is a South African grower; Rob Bob’s channel has an Australian aquaponics context. The German BR film concerns mechanical removal of Colorado potato beetles: it is not evidence that this is a Namibian pest. Exact filming sites were not independently confirmed. Compare season, water and pest identity before transferring a practice.
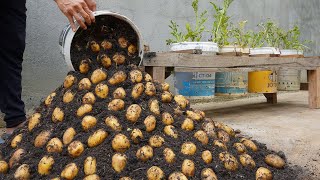 Watch videoOriginal container-growing demonstration by J.o.h.n Garden remains a further viewing link. Its “all year round” title is not a recommendation for Namibia; filming country and local performance were not confirmed.
Photographs and visual references from the original guide
These original references remain available for continuity. The linked images are not evidence for a particular yield, pest diagnosis or farm location.


Sources and further reading
Have you tried this in Namibia? Share the site conditions, method and result—including what did not work—with the Living Earth community. Local observations help the next person adapt the idea.