
A simple sketch can reveal why one corner grows well while another struggles. Map the sun, wind, water and cold spots before choosing plants or building structures. You do not need an expensive weather station to begin observing consistently.

From the Namibian discussions
A Namibian group shared material about growing zones. Such maps can help frame questions, but a regional zone does not describe every courtyard or field. The saved item did not include site measurements, so the useful next step is a local map built from repeated observations.
Draw the fixed features
Mark north, buildings, walls, trees, paths, slopes and water points. Add places you can reach easily for daily care. Note which surfaces reflect heat and where runoff enters or leaves. Obtain permission before changing shared drainage or planting in communal space.
Observe at different times
- Mark morning, midday and afternoon shade on a few representative days.
- Record wind direction and sheltered areas.
- After rain or watering, note puddles, erosion and places that dry quickly.
- During cold weather, compare plant damage and protected corners without assuming every low spot freezes equally.
Measure consistently
If using a thermometer, place and shield it consistently so direct sun does not distort an air-temperature comparison. Record the time and conditions. A hardiness-zone rating mainly addresses winter cold; it does not settle summer heat, water quality, soil or irrigation needs.
Choose one small improvement
Match the first crop to the most manageable space, then test a modest change such as removable shade or wind shelter. Keep access and maintenance practical. Revisit the map when seasons change because a wall’s shadow and the useful planting area will move through the year.
Namibian climate and microclimate
Coastal fog, inland frost and northern heat create very different starting points. Within each region, a wall, slope or irrigated tree can create another set of conditions. Describe both the wider climate and the immediate growing position when sharing results.
Your first practical step
Draw your growing space and mark where sunlight falls at three times of day.
Watch and adapt
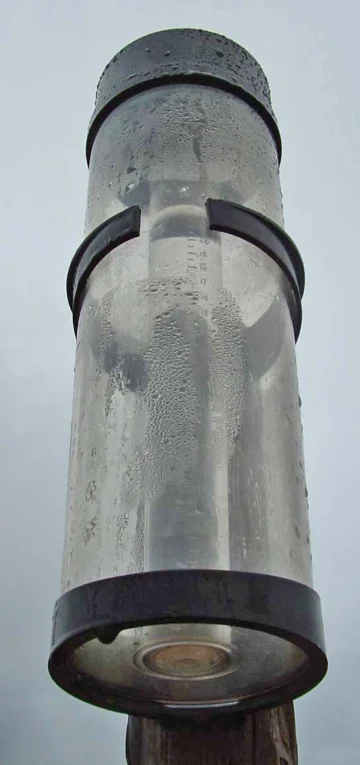
Watch: How to read a rain gauge
Publisher: CoCoRaHS / Colorado Climate Center
Country and context: USA-based network.
Open the rain-gauge video under Step 4. Use a metric gauge and record rainfall in millimetres; the US demonstration may use inches.
Use the weather-recording lesson as supporting context. Regional observations complement, rather than replace, measurements in your own growing space.
Keep exploring
- Plant Hardiness Zone Map
- Garden weather records: learn what happens at your own site
- Frost covers: a simple evening and morning routine
Sources and further reading
Have you tried this in Namibia? Share the site conditions, method and result—including what did not work—with the Living Earth community. Local observations help the next person adapt the idea.